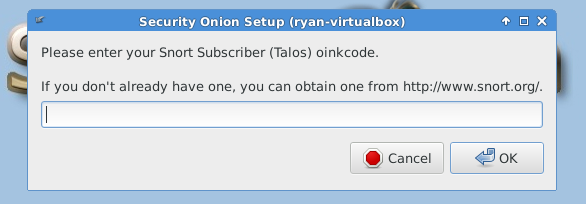
Before we begin configuring Security Onion, it’s a good idea to get an Oinkcode from snort.org if you’re going to use Snort.
Snort can also use the Emerging Threat rulesets.
There are three options available to obtain an Oinkcode.
- Community Edition – the rules are updated every 30 days, no support – FREE
- Personal – the rules are released daily, can submit false positives, home network or educational environments only – $29.99 per year
- Business – the rules are updated daily, priority support for false positives and Talos (the parent company) will work directly with you, for use in businesses, colleges, government, etc. – $399 per sensor per year
Once you create an account and pay for a subscription or not, you can find the Oink code by clicking on the email address in the upper right-hand corner of the page then select Oinkcode.
Suricata, on the other hand, uses the Emerging Threats ruleset from Proof Point. A subscription isn’t needed unless you need the “Pro” ruleset which costs around $500.
The Pro ruleset features include:
- Emphasis on fingerprinting actual malware / C2 / exploit kits, and in the wild malicious activity missed by traditional prevention methods.
- Support for both SNORT and Suricata IDS/IPS formats.
- Over 37,000 rules in over 40 categories.
- 10 to 50+ new rules are released each day.
- Extensive signature descriptions, references, and documentation.
- Very low false positive rating through the use of state-of-the-art malware sandbox and global sensor network feedback loop.
- Includes ET Open. ET Pro allows you to benefit from the collective intelligence provided by one the largest and most active IDS/IPS rule writing communities. Rule submissions are received from all over the world covering never seen before threats—all tested by the Proofpoint’s ET Labs research team to ensure optimum performance and accurate detection.
The first time you log in to Security Onion, the system software updater will notify you that updates are waiting.
Go ahead and install the updates then select Restart Now when the update is finished.
The software updater doesn’t update all of the software in Security Onion. Doug created a command called “soup,” which is short for Security Onion Update, to install updates for all Security Onion specific software such as Squil, Squert, Snort, Bro, Suricata, and the Docker images. Wait until after configuring the services to run the soup command.
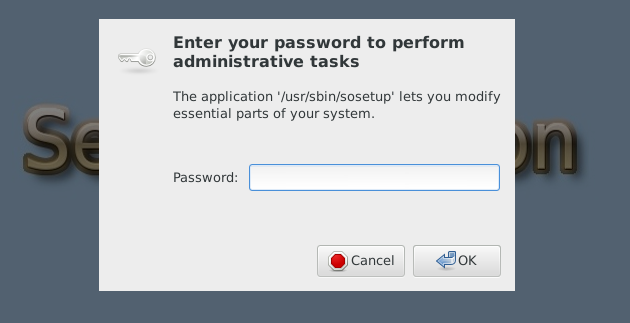

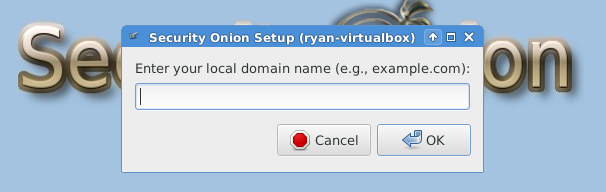
After reboot, you must run “Setup” again to configure the intrusion detection settings and other supporting services.
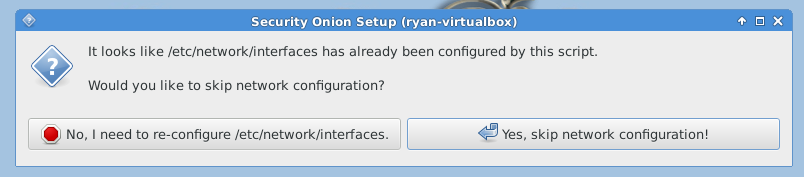
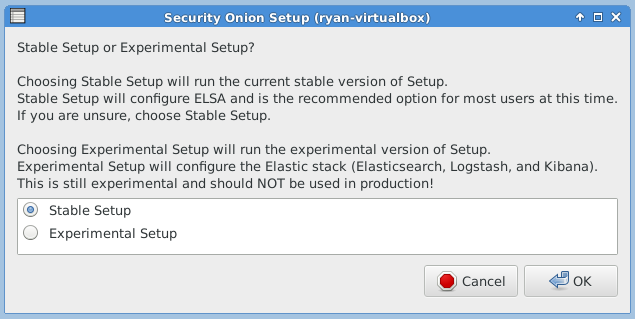
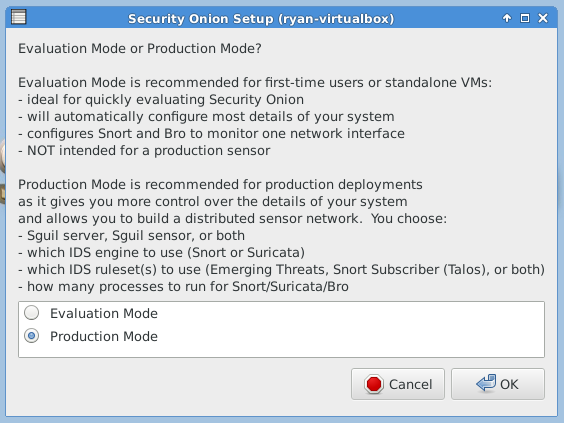
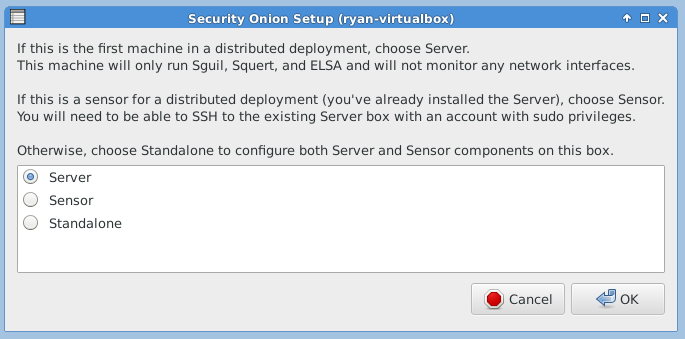
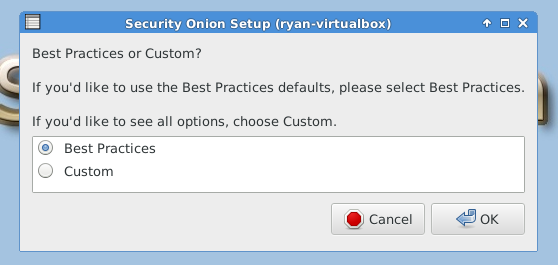
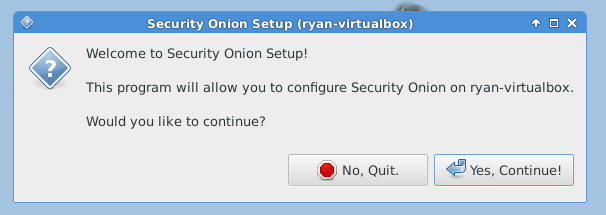
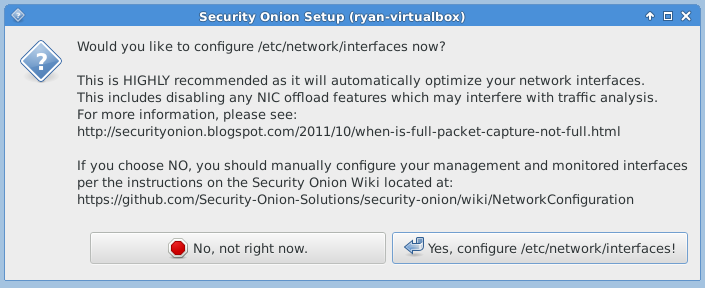
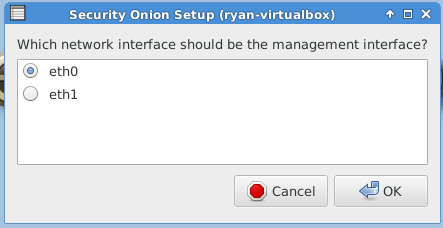
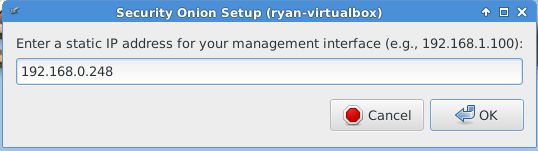
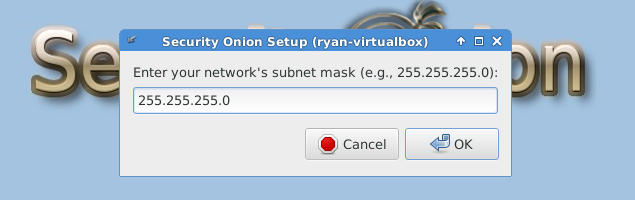
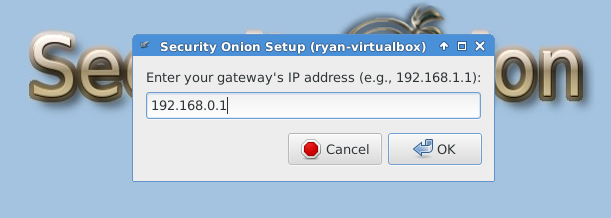
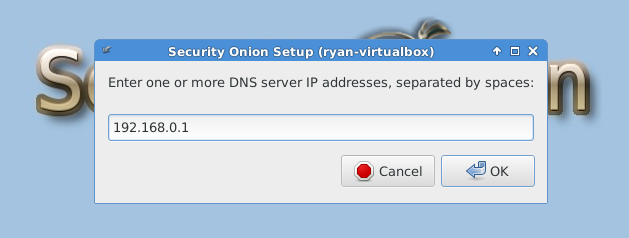
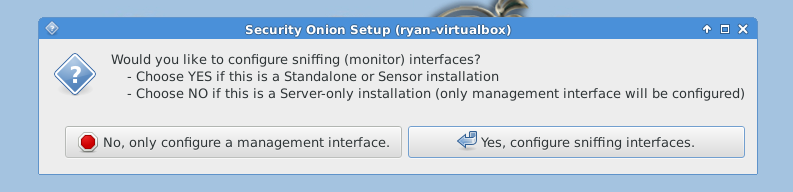
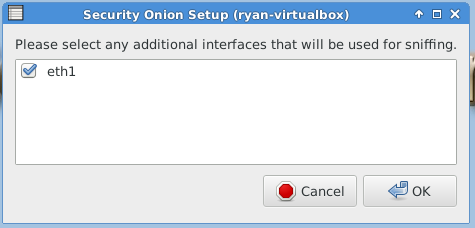
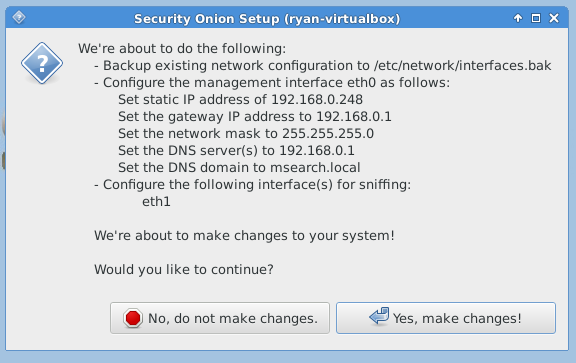
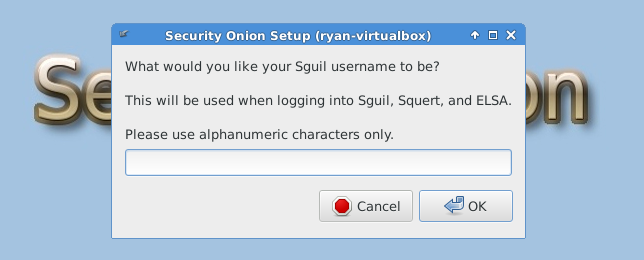
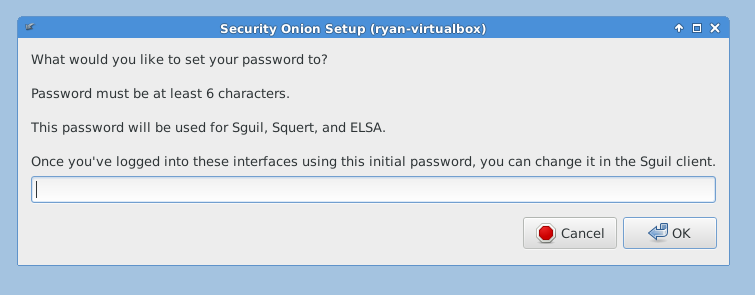
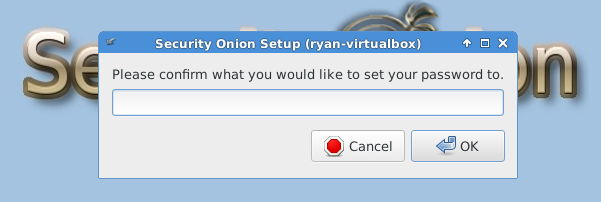
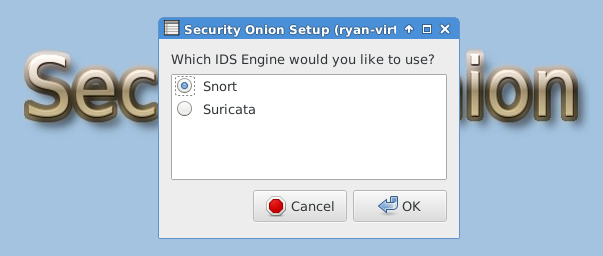
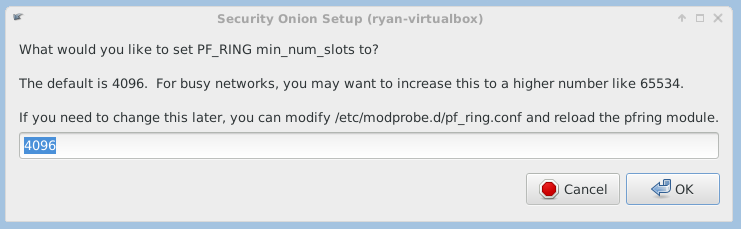
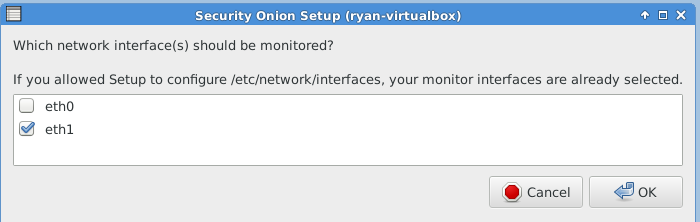
The following three images are self-explanatory.
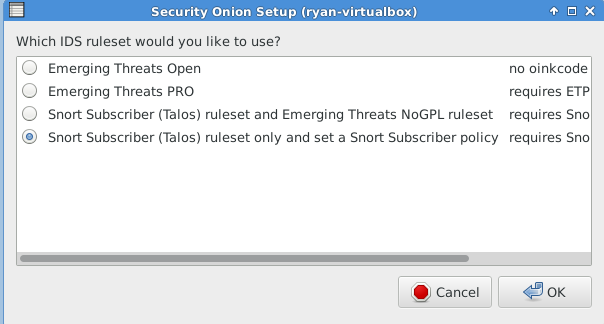
The following image requires a lengthy explanation so you can make the correct decision for your environment.
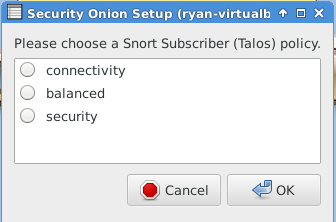
Connectivity:
- CVSS Score of 10 – highest severity rating
- Vulnerability age is three years old and newer
- No rule category’s
Balanced:
- CVSS Score of 9 or higher
- Vulnerability age is three years old and newer
- The rule categories are Malware-Cnc, Blacklist, SQL injection, Exploit-kit, and rules from the connectivity ruleset
Security:
- CVSS Score of 8 or higher
- Vulnerability age is four years old and newer
- The rule categories include Balanced and Connectivity with one additional category being App-detect

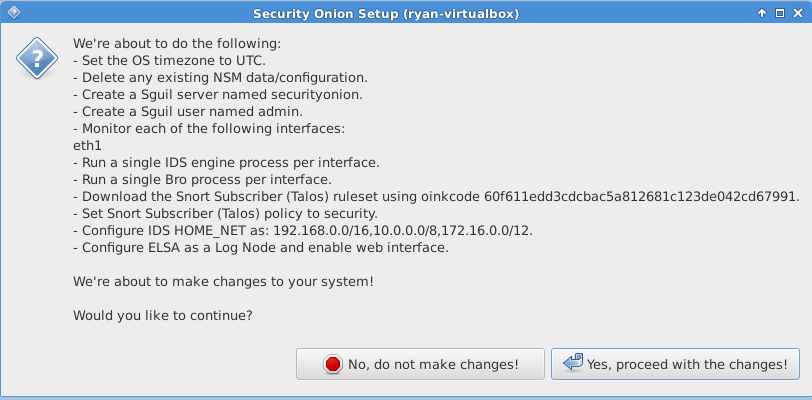
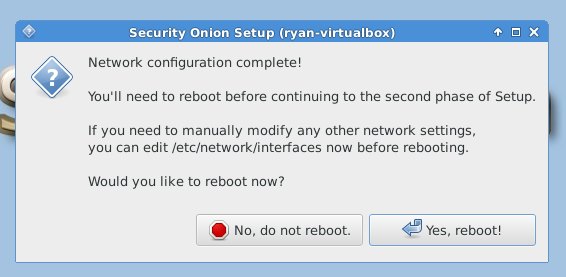
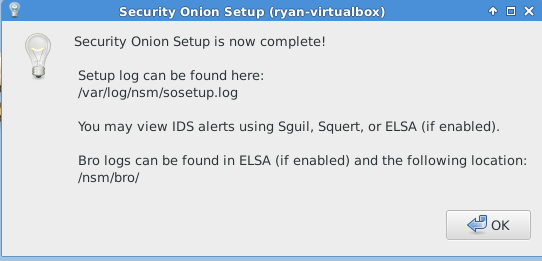
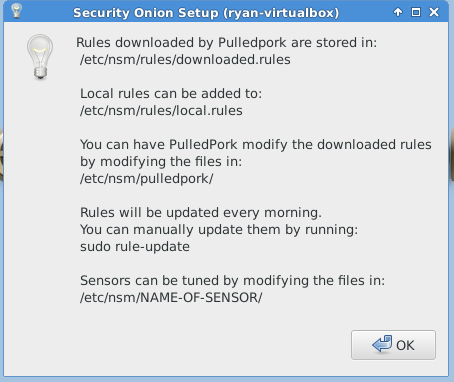
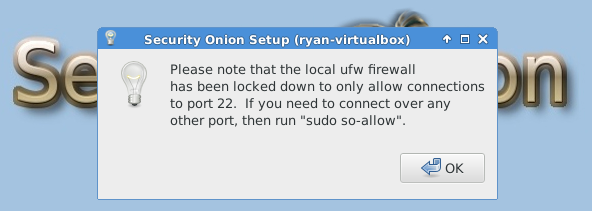
The following images are post-configuration notifications.

The next article in this series will focus on tuning Security Onion services and setting up the firewall rules.